

Hello everyone 👋,
In this article, Let's discuss about the stash feature in Git. We are going to cover the following topics:
- What is Stash?
- When to use Stash?
- How to use Stash?
- How to apply Stash?
- How to clear Stash?
1. What is Stash?
The general term of stash means storing something in a hidden place. It is similar in the Git terminology as well. It means moving the changes away from working directory.
2. When to use Stash?
When you don't want to do a commit of half-done work just so you can get back to this point later. The answer to this issue is the git stash command.
3. How to use Stash?
Assume, we have a git repository which has 2 files - index.html & feature-1.js

In the same master branch, a new feature is developed in the feature-2.js file which is not ready yet.
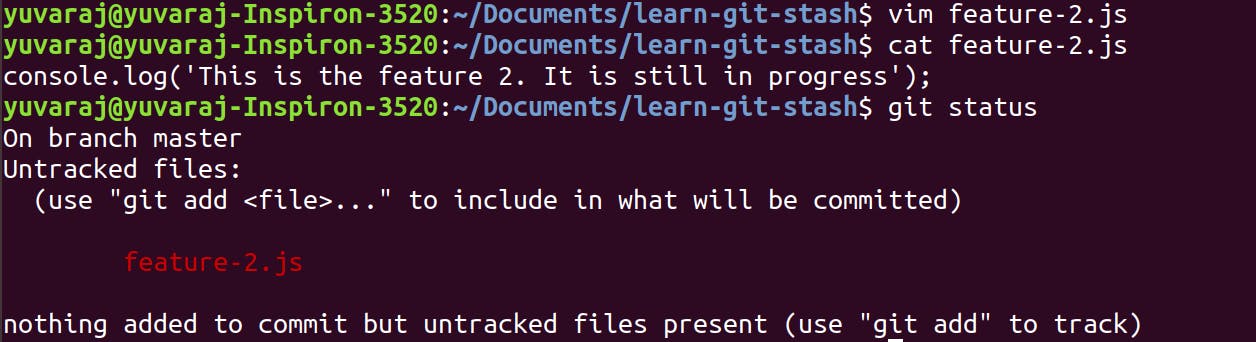
Suddenly you got a call from your team lead about a blocker issue in feature 1 & you are requested to fix it immediately. Now, you have to make changes on feature-1.js without pushing feature-2.js.
This is where git stash will come to the rescue.
In this situation,
- First add the unfinished files to the staging area by
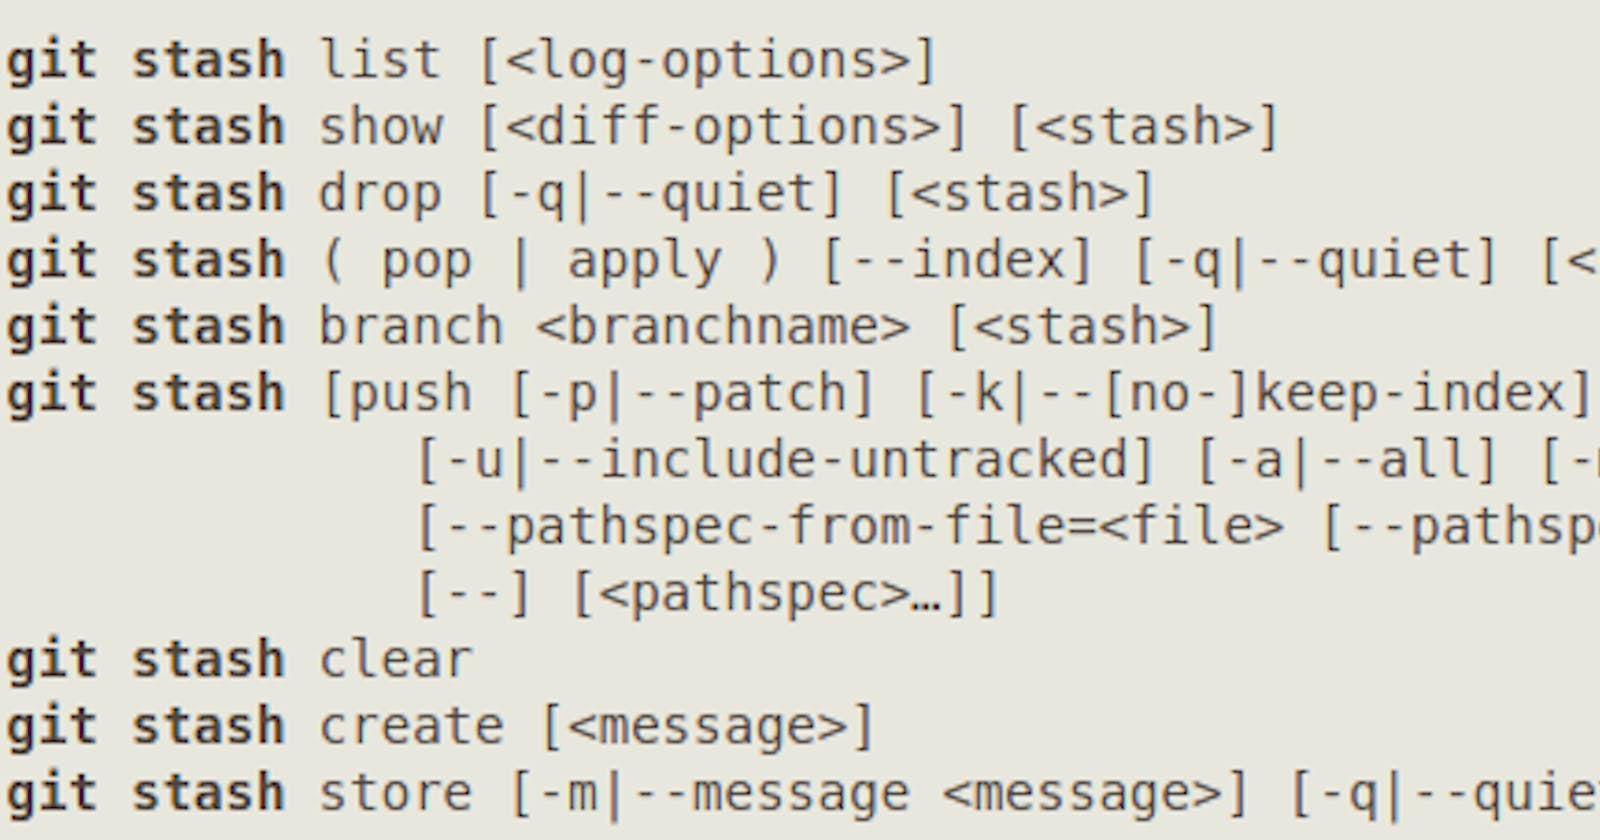
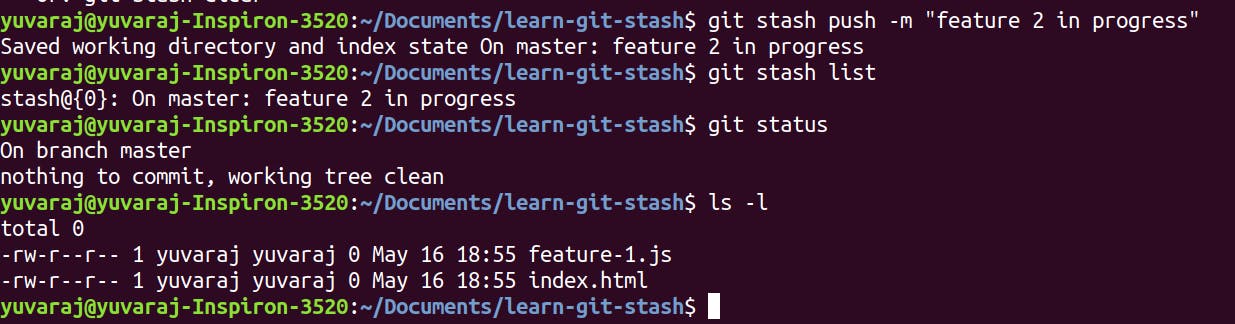
git addcommand,git add feature-2.js - Run the below command to move the files from working directory to stash.
// with -m flag, you can add customized stash message. git stash push -m "feature 2 in progress" - Then run,
git stash listto see the stash list. You will see the stash id along with the message. Here,stash@{0}is the stash id.stash@{0}: On master: feature 2 in progress - The
feature-2.jswill not be available in yourgit statusand as well as in your working directory. Now, you can work onfeature-1.jsand push your fix to the remote repository.
Well Done! 👏
You have successfully fixed issue in feature-1.js.
But, how to bring back feature-2.js to the work copy? 🤔
That brings to the next section on applying stash.
4. How to apply Stash?
Like how the files were moved from working directory to the stash through git stash push command,
one has to use git stash apply command to move the changes from stash to working directory.
To do that, follow the below steps,
- To see the list of stashes along with stash id, run the
git stash listcommand. You will see the stash id along with the stash message we have given earlier.git stash list stash@{0}: On master: feature 2 in progress - In this case,
stash@{0}is the stash id. Use this in below command to apply the changes.git stash apply stash@{0} - You will see the following output on running the above command
On branch master Changes to be committed: (use "git reset HEAD <file>..." to unstage) new file: feature-2.js - In the last line of above log, you can see
feature-2.jsis bought back from stash. Now, you can work on continue working onFeature 2. 🙌
Lets try run git stash list once more.
stash@{0}: On master: feature 2 in progress
You will be surprised to see the Stash is still there. We have already have feature-2.js file, But, why is still in Stash? We will see how to clear from stash on next section.
5. How to clear Stash?
There are 2 ways to clear the applied stash.
You can remove the stash by id. In our case,
stash@{0}is the stash id. This will remove only the specific stash from the stash list.git stash drop stash@{0}You can completely remove all the stash in the list. Warning: This will remove all the stashes from the stash list.
git stash clear
That's it!
Thanks for reading my article. I hope you've learned something new day!