
Can Vim beat VSCode? - Part 2
This part covers how to enable file tree view in sidebar similar to VSCode


Can Vim beat VS Code? is all about learning the Vim features and finding out at the end of the series is Vim has capable to beat VSCode. This is the second part of this series.
In the previous article of this series, we learned about,
- What is Vim editor
- How to install Vim
- How to install Plugin to Vim
- Enabling the code highlighting to Vim using the plugin.
In this article, we will learn about installing and using the File Tree Plugin for having the File Tree view in Vim.
Enable File Tree with NERDTree
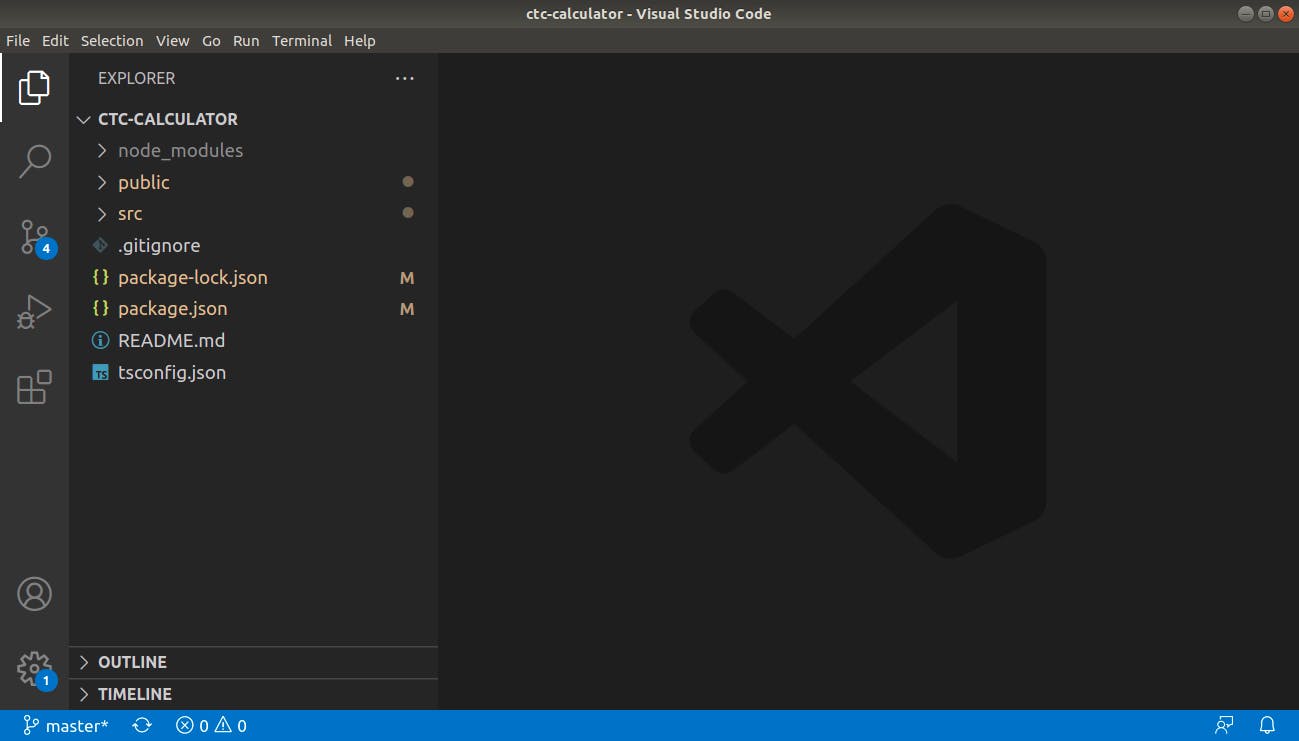
VSCode offers a neat file tree in the sidebar which shows the directories and files in it.
 In Vim, by default, there will be no file tree in the sidebar to show this view. So, In order to enable this file tree in Vim, we should install a plugin called NERDTree
The NERDTree is a file system explorer for the Vim editor. Using this plugin, users can visually browse complex directory hierarchies, quickly open files for reading or editing, and perform basic file system operations.
Let's see how to install NERDTree & how to use it in action.
Installing NERDTree
As we know, .vimrc is a configuration file for Vim from which we can install plugins.
First open .vimrc file with the below command
vim ~/.vimrc
Then, add Plug 'preservim/nerdtree' at the end of the line. As you can see below, we have already installed 2 plugins for code highlighting from the previous tutorial.
call plug#begin()
Plug 'maxmellon/vim-jsx-pretty'
Plug 'HerringtonDarkholme/yats.vim'
Plug 'preservim/nerdtree'
call plug#end()
To save this content and exit vim simultaneously, press the ESC key and type :wq!
Then, to install the plugin, follow the below steps:
- Type vim ~/.vimrc in your terminal
- Press
ESCand type:PlugInstall - You will then see the progress that Vim is installing the plugin
- Once it's finished, press
ESC& type:q!& do it again to come back to terminal.
That's it. You have installed the NERDTree Plugin.
In case, if you are unable to follow the above steps, you can watch this video. The same process is done in this video as well.
Using the NERDTree plugin
In the last part, I had created one React App using the create-react-app tool. I have navigated to this folder using the cd command.
The below are the files under my app.
yuvaraj@yuvaraj-Inspiron-3520:~/Documents/ctc-calculator$ ls -l
total 748
drwxr-xr-x 1083 yuvaraj yuvaraj  36864 May 11 22:20 node_modules
-rw-r--r--    1 yuvaraj yuvaraj   1010 May 11 22:20 package.json
-rw-r--r--    1 yuvaraj yuvaraj 707119 May 11 22:20 package-lock.json
drwxr-xr-x    2 yuvaraj yuvaraj   4096 May 11 22:29 public
-rw-r--r--    1 yuvaraj yuvaraj   2117 May  9 22:15 README.md
drwxr-xr-x    2 yuvaraj yuvaraj   4096 Aug 11 14:57 src
-rw-r--r--    1 yuvaraj yuvaraj    535 May  9 22:16 tsconfig.json
yuvaraj@yuvaraj-Inspiron-3520:~/Documents/ctc-calculat
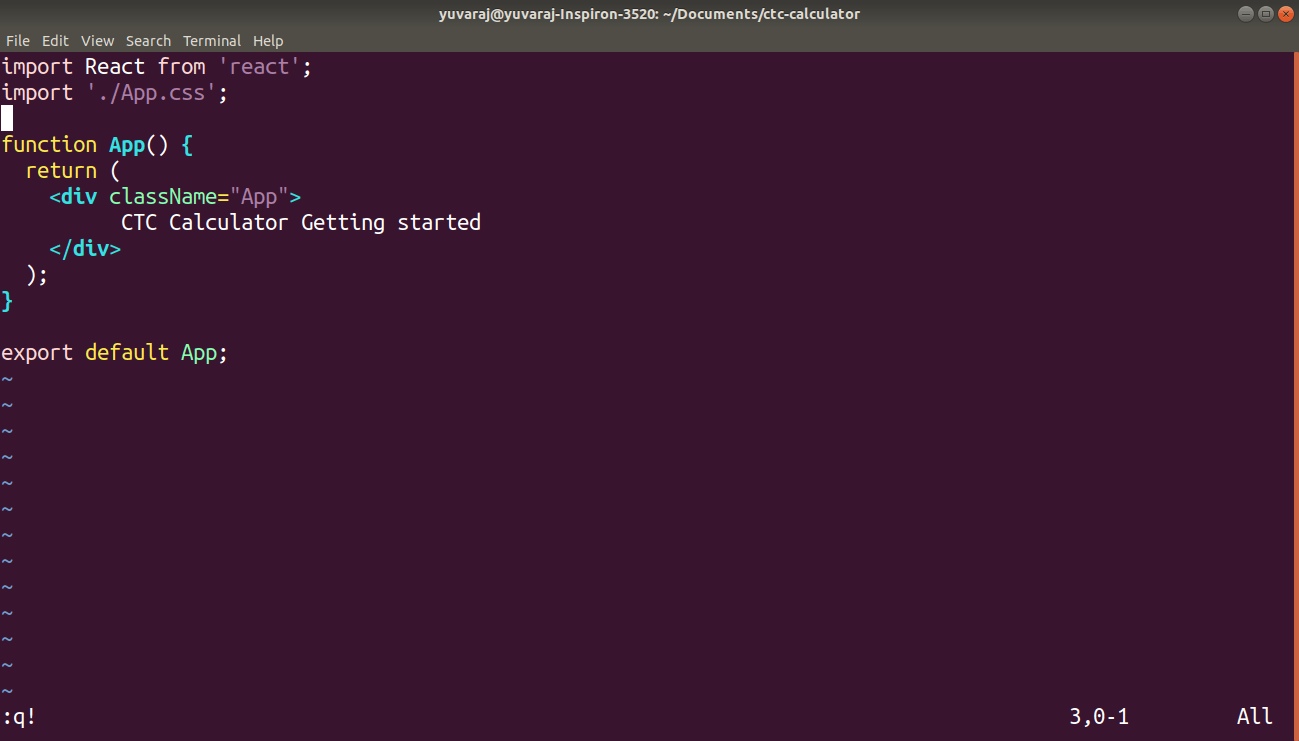
First, open your App.tsx which is under the src directory.
vim src/App.tsx
The above command will open the file without a file tree.
To show the file tree, press the ESC key and type :NERDTree
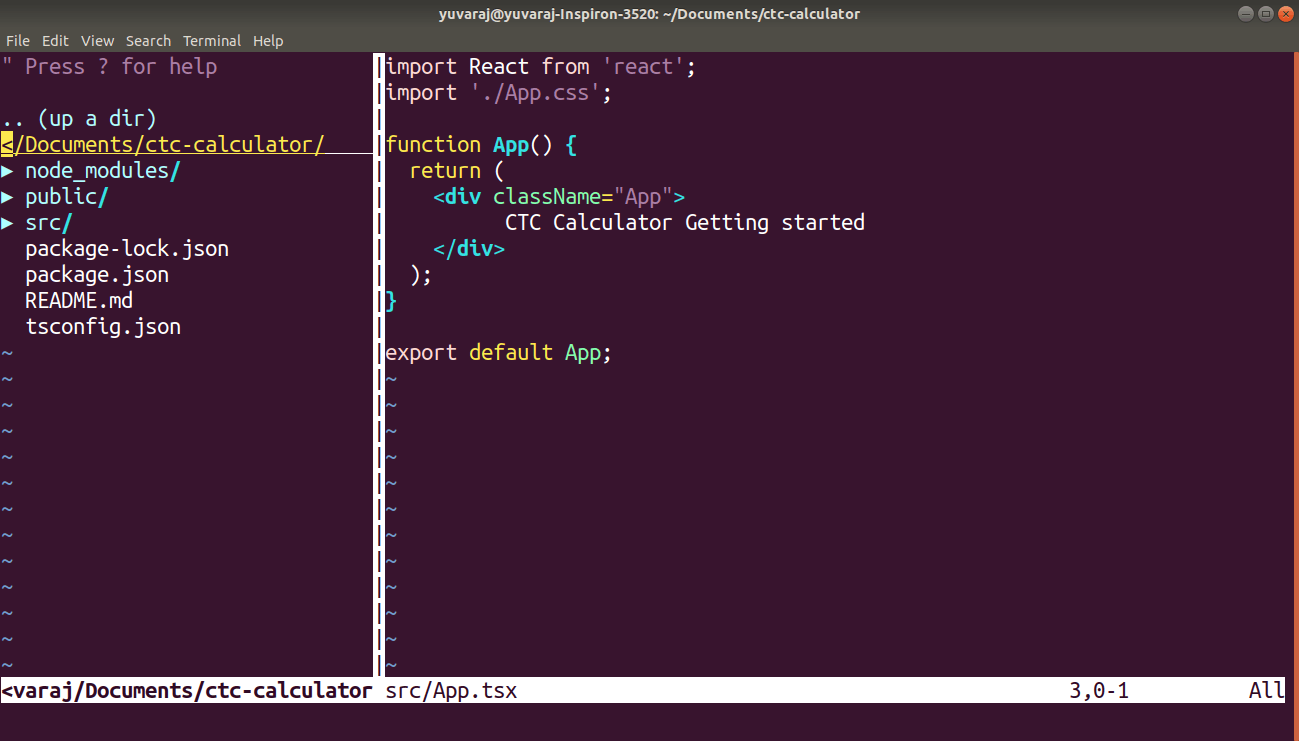 Great! Now, you can able to see the file tree in Vim similar to VSCode.
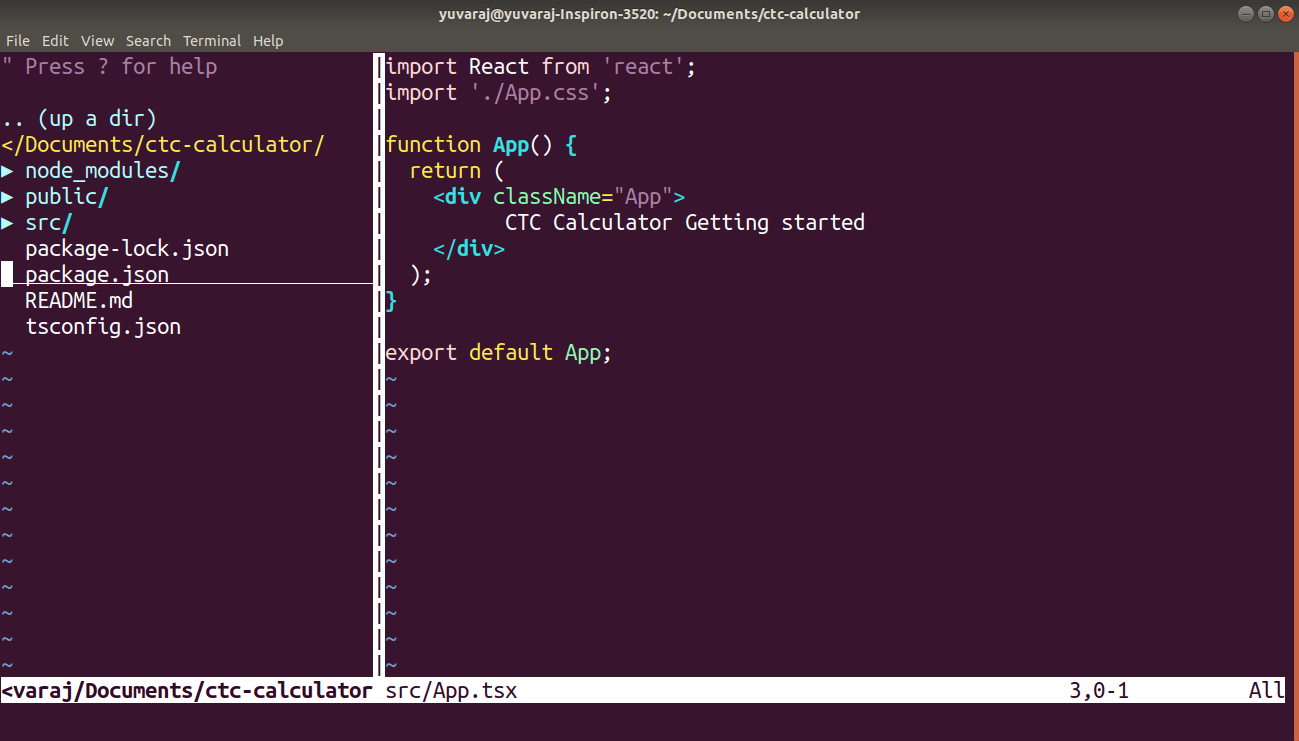
Now, let us see how to open the package.json file.
To do that, you can use the j key to move down & the k key to move up.
In our case, we will press the j key 5 times that will highlight in the package.json file.
In the below image, you can see a small box is there in package.json. That highlights that you are in the package.json location.
 Let's open the
 package.json file by pressing either o key (or) Enter key. Once you did the above steps, you can see the file on the right-hand side.
 We are now on the right-hand side of the panel. Let's see how to get back to the file tree panel in the sidebar. To do that, press
 ESC & then press CTRL+W.
Now, you will be on the left-hand side where we have a file tree. If you want to go to the right-hand side of this panel, then do the same steps.
Expand/Collapse the directory
Let's see how to expand/collapse the directory with NERDTree. To do this step, you should be on the left-hand side of the panel.
- To open the
index.htmlfile under the public directory, first use the j key to move down & k key to move up to be in thepublicdirectory. - Then, press the o key in the
publicdirectory. - It will expand the
publicdirectry. Again you can use the j key to move down to be in theindex.htmlfile. Then press the o key to open the file.
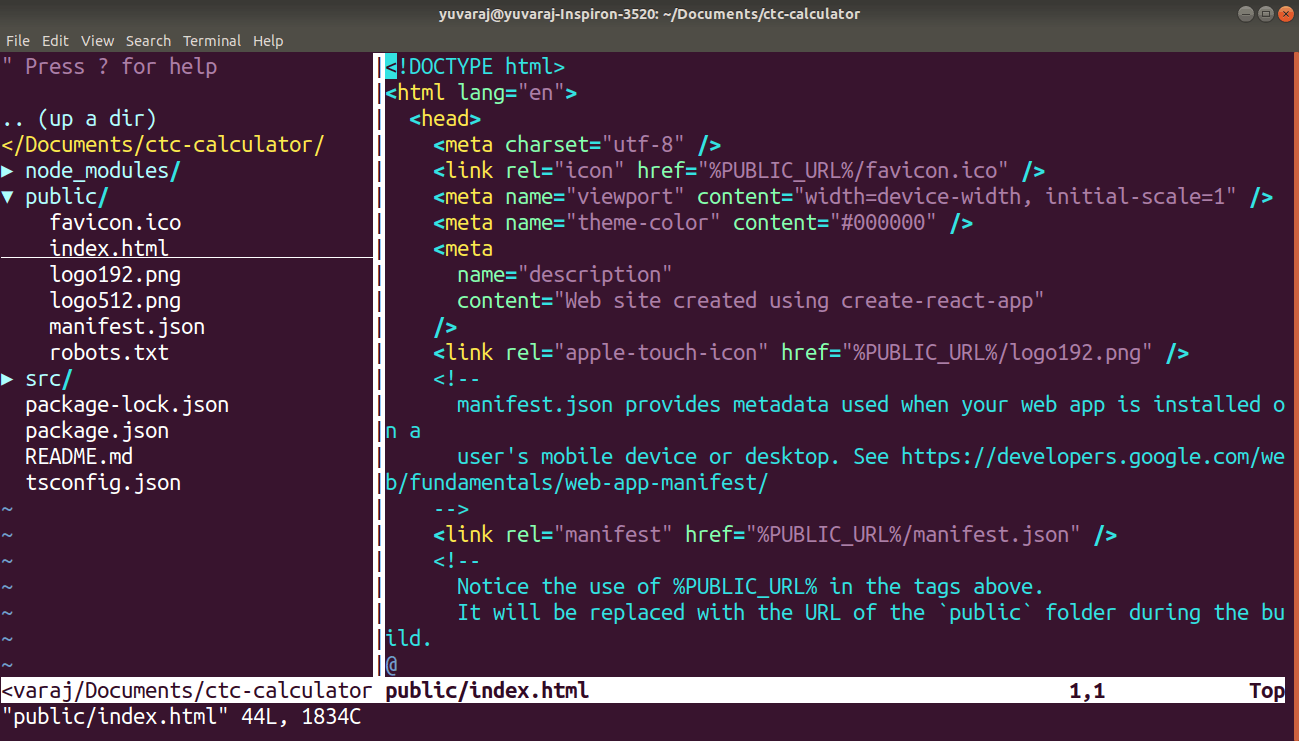
You can see in the below image that I've expanded the public directory and opened index.html with the above steps. Similarly, you can collapse the directory using the same o key.
You can watch the below video on how I used NerdTree to expand/collapse the folder, opening the file, switching between file tree and content panel.
I hope you enjoyed this article or found it helpful.
You can connect with me on Twitter & Github 🙂
Support 🙌
You can support me by buying me a coffee with the below link 👇
